
Is your fridge giving you an error sign even though you have tried vacuuming the coils behind? Have you been throwing out spoiled food from your freezer frequently? These may be the signs of a broken thermostat.
When this happens, the refrigerator fails to maintain the temperature inside the fridge. Resetting the dial brings about no change either. Maybe it is time to replace your fridge’s thermostat. This can be done at home with a basic tool kit and it costs nothing in comparison to calling an expert.
Despite being one of the few kitchen appliances that function constantly to keep your food chilled it is remarkable how rarely it breaks down. When this does happen the spoiled food and the repair bills can be quite a headache. For some reason, if it does break down no need to worry about the high maintenance cost.
This article will guide you through the basics of your refrigerator and provide you with a step-by-step guide on how to replace a thermostat in a fridge freezer. Even if you don’t have the least idea about its mechanism. Just fetch your toolbox and some patience so we can get started.
What is a thermostat?
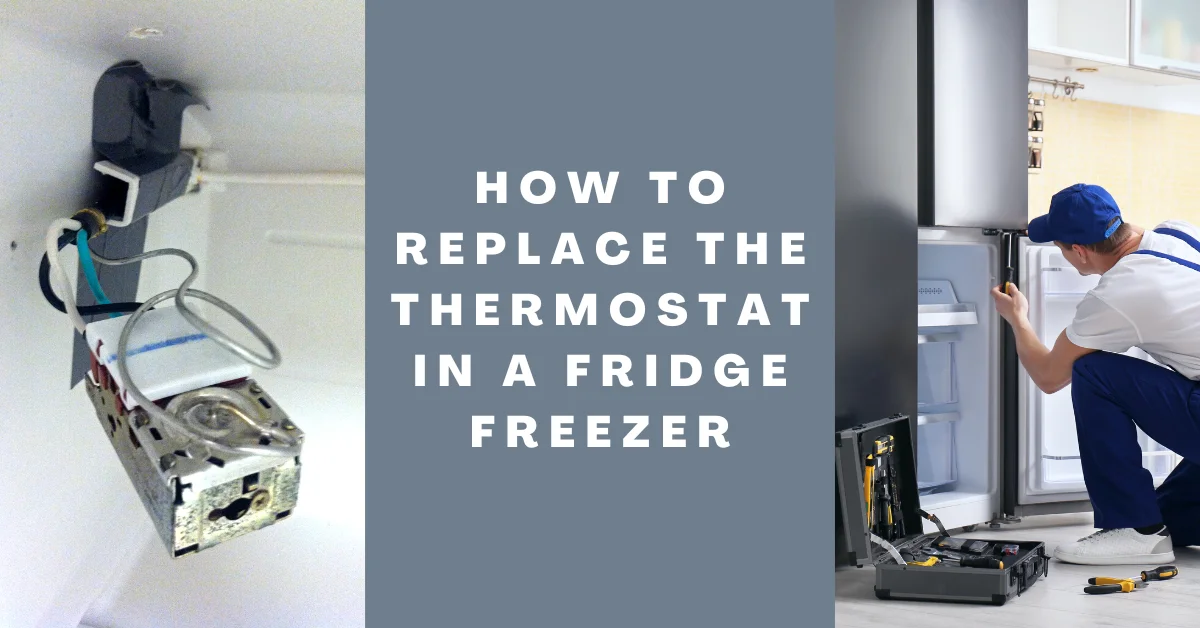
A thermostat regulates the overall temperature of the fridge and freezer. It is found behind the control panel.
The thermostat is an important component that keeps the fridge running at its full potential. If you have been struggling to maintain the temperature the problem lies in a faulty thermostat. There is no need to panic. This guide will tell you about all the precautions and tips to help you replace a faulty thermostat.

How to check for a faulty thermostat?
If your food has gone spoiled or your milk smells bad frequently, this is a major sign that your fridge’s thermostat no longer works.
How to locate the thermostat in your fridge/ freezer?
The thermostat is usually found inside the fridge where it is fixed. You can clearly spot it behind the dimmer used to regulate the fridge temperature.
Things you’ll require
- Screwdriver
- A new thermostat
- Pliers
- And some patience
Preparation
Before you begin working on your fridge make sure to check if the motor or compressor is still running. Inside the motor is a capacitor. The current is kept inside the capacitor even though it is not receiving any power.
Therefore, make sure to discharge the capacitor when working on any capacitor-type fridge or freezer. This is extremely important, or you may receive a severe electric shock.
While purchasing the new thermostat make sure you have complete information about your appliance. Model number, serial number, model code anything that can be useful in identifying the appliance will save you a trip. Moreover, if your fridge is still unable to maintain temperature after 24 hours of replacement you will need to call a repairman.
WARNING
- Do not attempt to open any part of your fridge if it is still under warranty. You will lose the chance to get it fixed by the company and it is relatively a good option to use your warranty for it.
- Do not touch anything unless you are absolutely sure that you will be able to fix it. Huge machines like this are expensive to replace so do your homework before you begin working on it.
- Make sure all power outlets are off before you begin. Make sure to unplug the fridge from the wall outlet.
Instructions
The thermostat control usually found on the inside of the refrigerator is visible through the knob used to regulate temperature. You can test it in multiple ways to identify the problem. To test the thermostat, use the steps below.
STEP 1:
- If your refrigerator’s compressor runs all the time, then switch the knob to “off”. If the compressor is still running, then unplug the unit and pull out the knob that controls the thermostat.
- Remove the panel by unscrewing the screws holding the thermostat in place.
- Pull the thermostat out by removing either of the red or blue wires. Plug back the unit and check if the compressor turns on.
- In the case that it doesn’t turn back on, chances are the thermostat is faulty. It is indeed time for a replacement.
STEP 2:
- In the case that the thermostat turns on even after the wire is cut from the terminal. Chances are there is a short circuit within the unit’s wiring. If that’s the case, then let a professional technician handle this.
STEP 3:
- If your fridge or freezer is connected to an outlet but the fridge cavity does not cool. Try unplugging the unit and removing the thermostat using a screwdriver.
- Disconnect both of the wires from the thermostat and tape the ends together using electrical tape.
- Plug the appliance and check if the fridge starts up normally. This usually means a faulty thermostat is in place.
- Replace it with a similar one and fix it just like the previous one.
STEP 4:
- If you think the freezer compartment is working as usual but the refrigerator somehow doesn’t seem to cool.
- Then maneuver the control dial of both compartments to neutral temperatures.
- Remove the friction-fit knobs and unscrew the temperature control panel. This will give you access to the air duct.
- Put the knob back on and turn it towards the off sign. Now open the fridge door and take a look at the air duct. If the duct opens wider in the next 10 minutes, then the problem lies in the control panel and not the thermostat.
Make sure to check our article on mini fridges with glass door!
Replacing the thermostat
STEP 1: Accessing the thermostat
To replace the thermostat, you need to get access to it. To be able to do this you need to remove the following things:
- First, the control knob itself needs to be maneuvered out of its place. With the help of a flathead screwdriver, you can ease it out.
- Place it behind the knob and try to lever it off gently. This will give you access to the shaft that holds the thermostat.
- The nut secures the shaft. A pair of pliers might help to release it.
- Remove the screw hole bung as well as the screw behind it.
- Now that everything is out of your way slide the thermostat assembly and lift it out of the fridge wall.
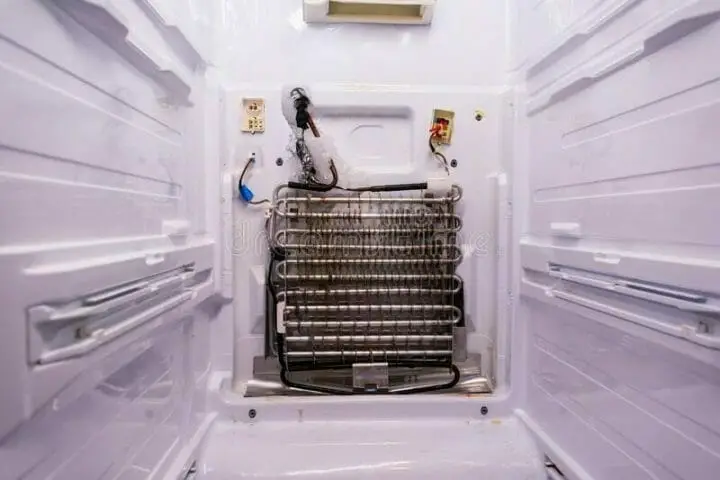
STEP 2: Removing connections
Get rid of the compartment on top of the thermostat. Try steering the thermostat out of its place and it reveals some wiring.
A quick tip: Take a picture of this wiring. It will save you the trouble of remembering which wire connects where later on.
Continue to remove the spade connectors from the thermostat. Some of these connectors have barbs so you may need to push them down using a screwdriver while trying to release them.
STEP 3: Capillary sleeve replacement
Once you disconnect all the wires you can easily remove the thermostat. Now you need to remove the capillary that sticks out of the fridge wall. Although it slides out without much force try to not jerk it out as it might be winded up in something.
Slide the thermostat out of the capillary with soft hands and replace it with your new thermostat capillary. Slide the new thermostat capillary back inside and reconnect all the wiring using the picture you took on your phone as a reference.
STEP 4: Fitting the new thermostat
Replace everything the way it was before. Screw the nut of the control panel and put the shaft back in place. Rewire all the cables like before and finish off by putting the knob back on.
Hurrah! You’ve successfully learned how to replace a thermostat in a fridge freezer. Isn’t that fantastic? You can now get back to using your fridge as you bought it yesterday.
Wrapping up
Your fridge is the most vital part of your kitchen. There is no doubt that it is every day essential so why not give it the attention it deserves? Make sure you close it properly after using it and try keeping the coils at the back clean. Just like any other appliance, it is a machine and for it to work as per your requirement it needs some love.
We hope our guide was helpful! Make sure to follow the instructions precisely and heed the warnings.
Also, read this article on how to clean your fridge!